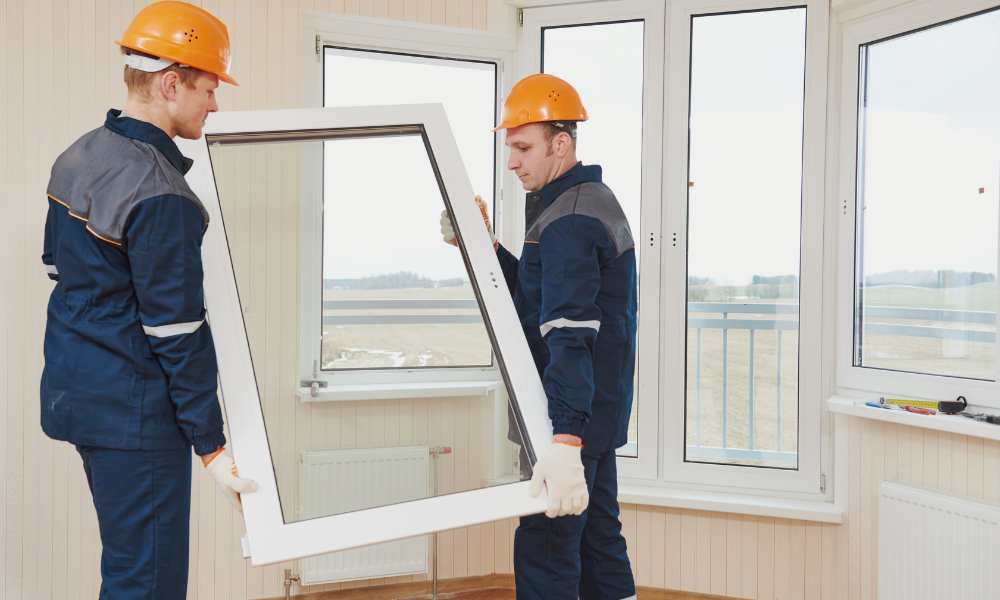
You might not realize that preparing your home for window replacement can significantly impact the efficiency of the installation process. To ensure everything goes smoothly, you’ll need to take several key steps before the crew arrives. From clearing the work area to protecting your interiors, each action contributes to a hassle-free experience. Plus, effective communication with your contractor can set clear expectations. So, what exactly should you do to get ready? Here’s a closer look at essential preparations that can make a big difference.
Clear the Work Area
Clearing the work area is essential for a smooth window replacement process. Start by removing furniture from the vicinity of the windows. This not only protects your belongings but also gives the installers ample space to work.
If you can’t move larger items, consider covering them with protective sheets. Next, relocate any plants that are near the windows. Whether they’re potted indoors or outside, it’s crucial to ensure they’re out of the way to prevent damage.
Ensure pathways are clear for the installers, allowing them easy access to both the interior and exterior of your home. By taking these steps, you’ll create a safer, more efficient environment for the window replacement, leading to better results overall.
Protect Your Interiors
To ensure your interiors remain protected during the window replacement, start by covering your furniture and flooring with drop cloths or plastic sheeting. This not only prevents dust and debris from settling but also aids in temperature control during the process.
Here are some practical steps to enhance protection:
- Remove small items: Clear shelves and tables to avoid accidental damage.
- Secure larger furniture: Move pieces away from the work area and cover them with furniture coverings.
- Seal vents and openings: Use tape to cover vents to minimize dust circulation.
- Control indoor temperature: Keep your HVAC system running to maintain a comfortable environment for both you and the workers.
Following these steps will help you maintain a clean and safe interior during the installation.
Communicate With Your Contractor
Effective communication with your contractor is crucial for a smooth window replacement process.
Start by scheduling a meeting to discuss expectations—what you want from the project, including style, materials, and any specific needs.
Make sure to clarify timelines; knowing when the work will begin and how long it should take helps you plan accordingly.
Don’t hesitate to ask questions about the installation process and potential disruptions. Keeping an open line of communication can prevent misunderstandings later.
Additionally, share any concerns about your home or neighborhood that might affect the project.
This proactive approach will help ensure both you and your contractor are on the same page, leading to a more efficient and enjoyable window replacement experience.
Schedule the Installation
With the details ironed out with your contractor, it’s time to schedule the installation. Understanding the installation timeline is crucial for a smooth process.
Here are four steps to help you coordinate effectively:
- Choose Your Window Styles: Confirm the styles you want, as this can affect the timeline.
- Check Availability: Discuss with your contractor when they can start the installation based on their schedule.
- Consider Weather Conditions: Choose a time of year that’s ideal for exterior work to avoid delays.
- Prepare Your Home: Ensure your home is ready on the scheduled day to facilitate a seamless installation.
Prepare for Cleanup
Cleanup is an essential part of the window replacement process that often gets overlooked. Before the installation begins, gather your cleaning supplies to make the post-installation cleanup smoother.
You’ll need trash bags for debris disposal, a broom for sweeping, and perhaps a vacuum for finer dust.
Consider placing a tarp or drop cloth around the work area to catch any falling debris and minimize your cleanup efforts.
After the installation, promptly dispose of any leftover materials to prevent clutter.
Once the installers finish, take a moment to wipe down surfaces to remove dust and residue.
Being proactive about cleanup helps ensure your home remains tidy and welcoming after the window replacement is complete.
Why You Should Choose Pure Energy Window Company for Your Window Replacement Needs
At Pure Energy Window Company, we specialize in high-quality window replacement solutions that enhance the beauty and efficiency of your home. Our expert team is dedicated to providing exceptional service, ensuring that each window replacement project is tailored to meet your specific needs. With a focus on energy-efficient products, we help you reduce utility costs while improving comfort. Our commitment to customer satisfaction and our extensive range of stylish, durable windows make us the premier choice for window replacement. Trust Pure Energy Window Company to transform your living space with our reliable and professional services!
Conclusion
By taking these simple steps, you can create a seamless space for your window replacement. Clear clutter and cover cherished items to guard against grime. Keep communication with your contractor crystal clear to ensure a smooth installation. Scheduling thoughtfully helps avoid weather woes, while prepping for cleanup means peace of mind. With a little preparation, you’ll transform your home beautifully, boosting both its beauty and energy efficiency. Embrace the change and enjoy the fresh, framed views!
Media Contact :
Pure Energy Window Company
42850 Schoenherr Rd Suite 7, Sterling Heights, MI 48313, United States
(586) 501-8222


